
A sliding knot is one of the most practical techniques in jewelry making, particularly when creating crystal pendant necklace designs that require adjustability. This versatile knot allows the wearer to modify the necklace length simply by pulling the cord ends, making it ideal for gifts or pieces that need to accommodate different neck sizes. Unlike fixed-length necklaces, a properly tied sliding knot creates a professional finish while maintaining the security of your precious crystals.
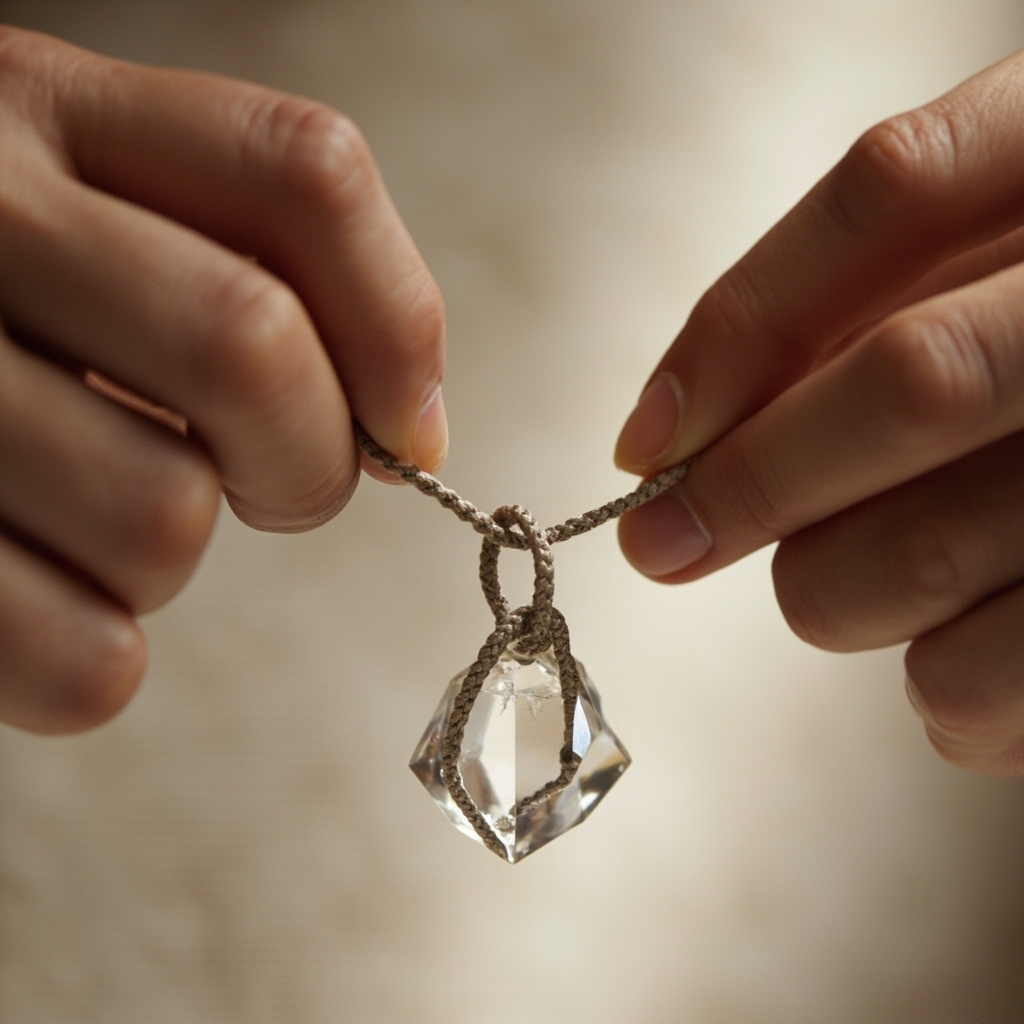
Before beginning, gather your essential materials. You will need a length of cord or beading wire suitable for your crystal pendant, your crystal pendant with an attached loop or bail, scissors or wire cutters, and optionally a lighter or clear nail polish for sealing cord ends. The cord length depends on your desired maximum necklace size, but a good starting point is approximately twice the intended final length plus several inches for tying and adjustment. Choose a cord diameter that complements your pendant size without appearing too thin or overly thick.
To create your sliding knot, first thread your crystal pendant onto the center of your cord, ensuring the pendant hangs at the point where you want it to rest when worn. You may need to attach a jump ring or bail to the pendant if it does not already have a secure attachment point. Once your pendant is positioned correctly, bring both cord ends together, holding them parallel with the pendant hanging in the middle section of cord.
The next step involves creating the loop mechanism that will become your sliding adjustment. Take both cord ends and fold them together, then create a simple overhand knot about two to three inches from the pendant, leaving enough space for the pendant to move freely. This initial knot serves as a stop point, preventing the pendant from sliding off the cord entirely. Tighten this knot securely while maintaining the parallel alignment of both cord ends.
Now comes the crucial part of forming the actual sliding mechanism. Hold the initial knot steady and take the two parallel cord ends, creating a loop that sits above the initial knot. The size of this loop determines how much adjustment range your necklace will have, with larger loops providing more flexibility in sizing. Pass the parallel cord ends through this newly created loop, forming a second knot directly above the first one. This second knot will be the adjustable component that slides along the cord when pulled.
After forming the second knot, test the sliding mechanism by pulling the parallel cord ends in opposite directions. The loop should move smoothly along the main cord section, allowing you to adjust the overall length of your crystal pendant necklace. If the knot does not slide easily, you may need to adjust the tension or increase the loop size slightly. The knot should move freely when pulled but hold securely when released.
Once you achieve smooth adjustability, trim any excess cord length beyond the second knot, leaving approximately one inch of cord on each side for finishing. Seal the cord ends using a lighter for synthetic cords or clear nail polish for natural fibers to prevent fraying. After sealing, allow the ends to dry completely before wearing or gifting your creation.
To maintain your sliding knot crystal pendant necklace, avoid exposing the knot to excessive moisture or rough handling. Periodically check that the knot remains secure and slides smoothly, adjusting the tension if necessary. With proper care, a sliding knot necklace can provide years of comfortable, adjustable wear while showcasing your beautiful crystal pendant elegantly.